
DIY roofing repairs in Gresham, OR can save homeowners hundreds of dollars, but only when the damage is small, reachable, and tackled with the right precautions. Not every leak or missing shingle needs a same-day call to a contractor. This guide shows exactly which repairs you can handle yourself, what tools you need, and the point where Gresham's wet, mossy climate makes a professional the smarter call.
Why DIY Roof Repair Makes Sense in Gresham
Labor, not materials, usually drives the cost of a roofing bill. A professional repair for a handful of damaged shingles can run $400 to $800, while the same job often costs under $100 in materials when you do it yourself.
This guide focuses on small, accessible repairs, not full roof replacement. If you can save money without putting yourself at risk, it's worth learning the basics before you pick up the phone. We service roofs across the metro at West Coast Roofers & Gutters, and the small jobs below are the ones we see Gresham homeowners handle successfully on their own every rainy season.
Does Gresham Require a Permit for DIY Roof Repairs?
Good news for small jobs: most patch-level repairs are exempt. The City of Gresham does not require a permit for replacement or repair of roofing that does not exceed 30 percent of the required live load design capacity, as long as the roof is not required to be fire-resistive .
That covers nearly everything in this guide, a handful of shingles, a resealed flashing seam, a patched leak. Full tear-offs and structural roof work are a different story and do require a permit. When in doubt, check with the city's building division before you start, or ask a contractor to confirm scope during an inspection.
Safety First: Rules Before You Climb
Roof safety matters more than any repair technique.
- Never work on a wet, icy, or damp roof. Moisture makes any surface dangerously slippery.
- Wait for dry, calm weather before climbing up with tools in hand.
- Use a sturdy ladder with rubber feet on level ground, and have someone spot you.
- Treat fall protection as non-negotiable above one story.
Falls are the leading cause of work-related injuries and deaths among roofers, and working six feet or more above lower levels puts them at risk for serious injury or death.
Gresham's long wet season adds its own wrinkle. Moss growth and lingering moisture keep roofs slick well after the rain stops, so give your roof extra drying time before climbing up. For a deeper look at the federal rules professional crews follow, OSHA's published guide on <a href="https://www.osha.gov/sites/default/files/publications/OSHA3755.pdf">protecting roofing workers</a> breaks down fall-protection requirements by roof height and slope.
Tools and Materials You'll Need
Before climbing up, gather your gear. At minimum you'll want:
- A pry bar
- Roofing nails and a hammer
- Roofing cement or caulk
- Replacement shingles that match your existing roof in color and weight
- Gloves and non-slip shoes
Matching shingle type matters more than it seems. Mismatched granules or thickness stand out and can affect how well the patch seals. If you're unsure what your roof needs, our roof repair services page covers the materials most common to Gresham roof types.
How to Inspect Your Roof for Damage
Before repairing anything, you need to know exactly where the damage starts. Skipping this step often means patching the wrong spot and missing the real problem.
Start in the Attic, Not on the Roof
The fastest way to find a leak source is from inside, not outside. Grab a flashlight and head into the attic on a dry day, ideally right after a rainstorm, and look for water stains on the sheathing, dark streaks along rafters, or damp insulation.
To trace it properly:
- Locate the stain or wet spot closest to the roof's edge.
- Follow the staining uphill toward its highest, driest point.
- Check for nail tips poking through sheathing near that spot.
- Mark the location from inside so you can find it on the exterior.
Our crews inspect dozens of Gresham attics every wet season, and moss-clogged valleys are consistently where we find leaks that homeowners missed from the ground. In Gresham's persistent rain, attic checks catch slow leaks long before they show up as ceiling stains. If you'd rather have a second set of eyes confirm what you find, a professional roof inspection takes less than an hour.
Look for Signs From the Ground First
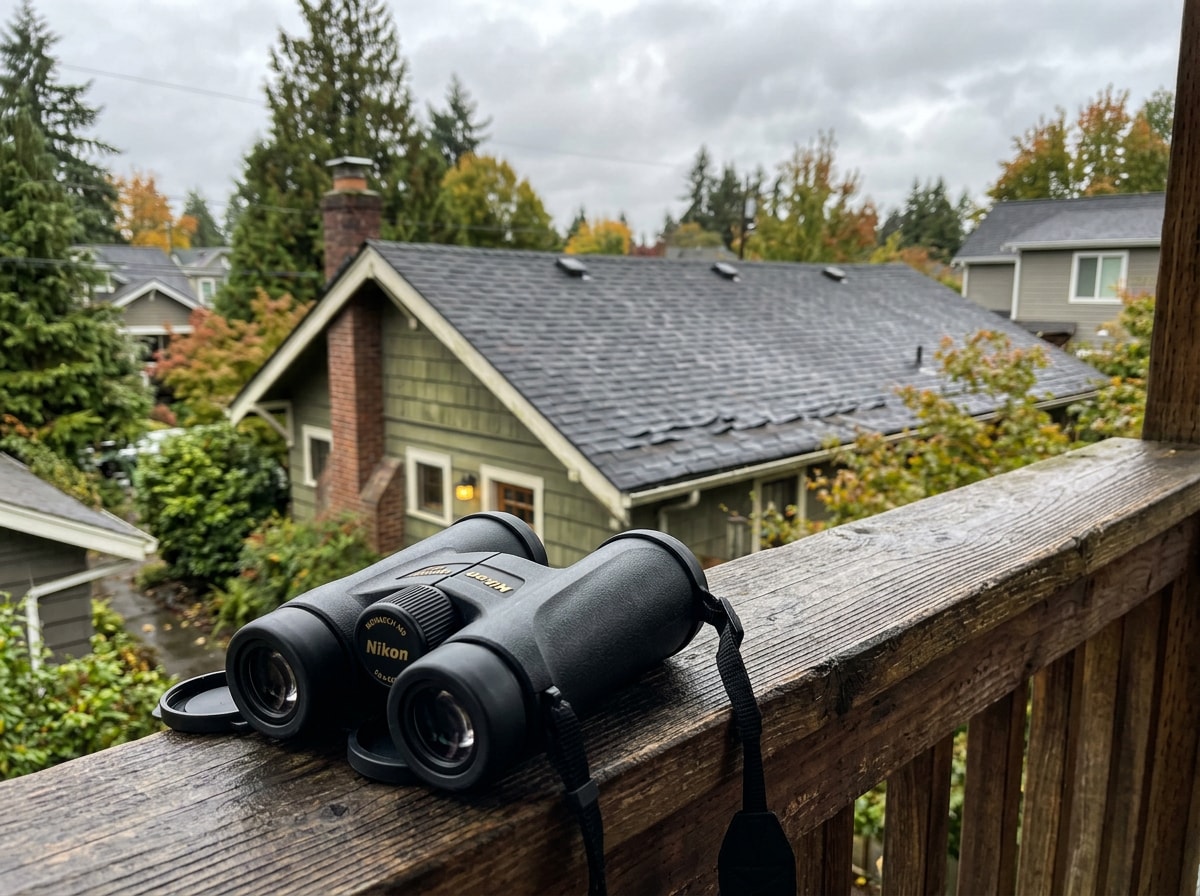
Grab binoculars and walk the perimeter of your house before you ever touch a ladder. Scan the roofline for missing or curling shingles, dark patches where granule loss has worn through the surface, and any sagging sections, all visible from ground level on most one- and two-story homes.
This ground-level pass gives you a rough map of problem areas before you climb up to confirm them.
Common Roof Repairs You Can Fix Yourself
Most repairs homeowners can handle fall into two categories: shingle damage and minor flashing issues. Both are manageable with basic tools, as long as the damage is limited and accessible.
Missing or Damaged Shingles
Wind, hail, and normal aging cause shingles to crack, curl, or blow off entirely. If you're dealing with roughly 1 to 10 missing or cracked shingles in a spot you can safely reach, this is a solid DIY job rather than a reason to call a crew.
Curling shingles are often an early warning sign rather than an emergency, but they do need attention before the next windstorm pulls them loose.
Minor Flashing Gaps
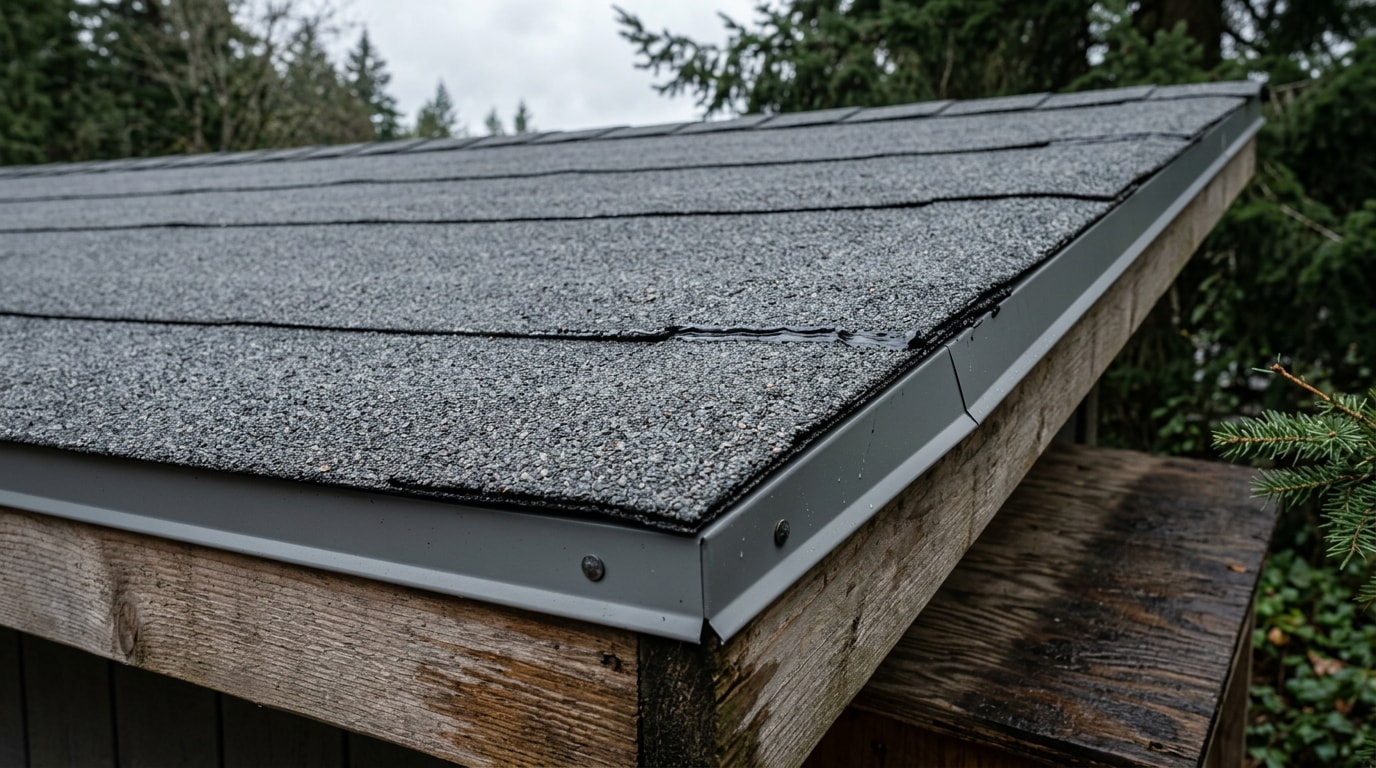
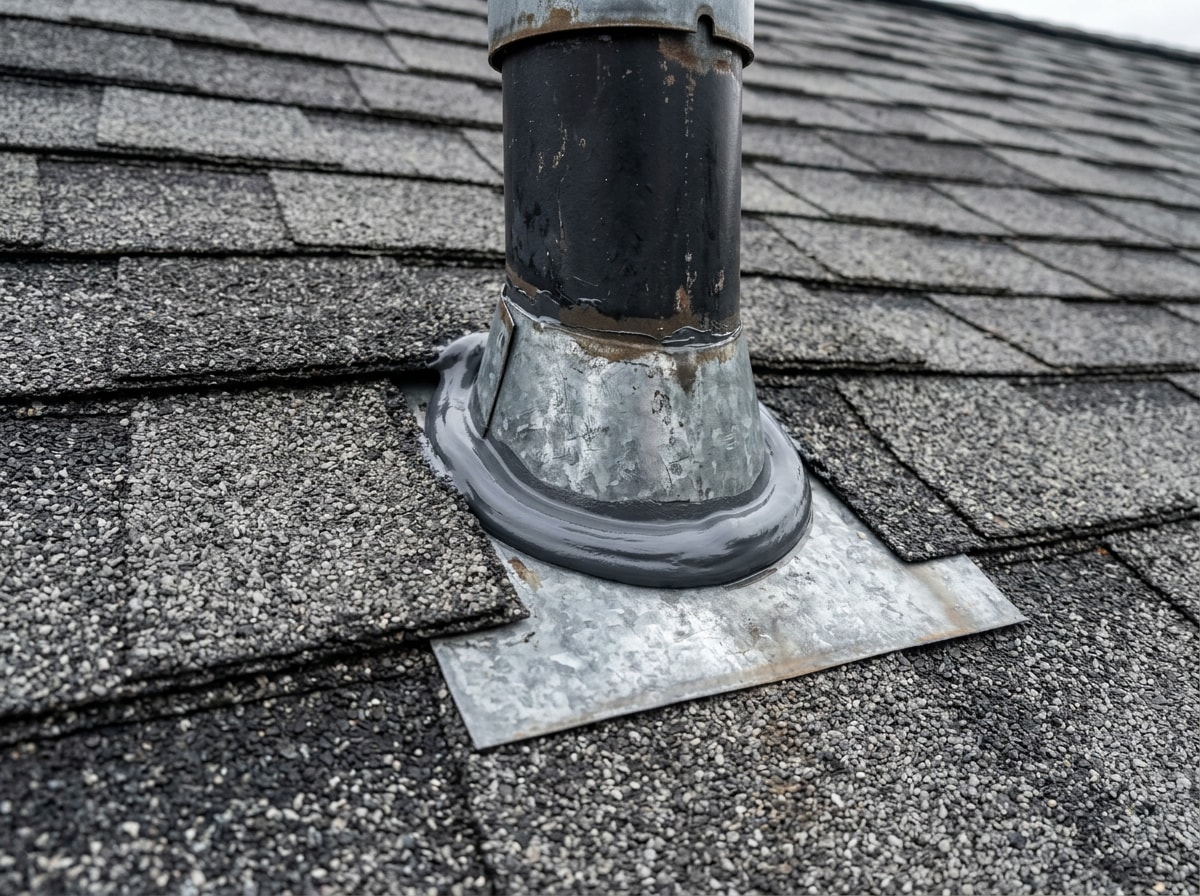
Flashing is the metal sealing joints around chimneys, vents, and skylights. Small gaps or cracked caulk at these seams can usually be resealed by a careful homeowner with a caulk gun and the right sealant.
Chimney and vent flashing see the most wear in rainy climates, so check them each fall before the wet season sets in.
When You Can Safely Handle DIY Roof Repairs
If you have 1 to 10 missing or cracked shingles in an accessible area, you can typically handle the repair yourself. Reasonable DIY fixes also include:
- Re-securing a few lifted shingles
- Resealing small gaps at exposed nail heads or minor flashing seams
- Cleaning or re-pitching short gutter sections
Anything beyond this scope, steep slopes, widespread damage, or structural concerns, moves outside safe DIY territory and into professional work. One more thing to check first: repairing certain shingle or flashing systems yourself can affect a manufacturer's warranty terms, so it's worth understanding your coverage before you start. Our roofing warranties guide walks through what's typically covered and what voids it.
DIY vs. Professional Repair Cost Comparison
| Repair Type | DIY Cost | Pro Cost | Difficulty | Recommended Skill |
|---|---|---|---|---|
| 1-3 missing shingles | $20-50 | $250-400 | Easy | Beginner |
| 5-10 shingle patch | $50-100 | $400-800 | Moderate | Some experience |
| Minor flashing reseal | $15-30 | $300-500 | Moderate | Some experience |
| Small leak patch | $20-40 | $350-600 | Moderate-Hard | Experienced DIYer |
| Full flashing replacement | Not recommended | $600-1,500 | Hard | Professional only |
Gresham's rain and moss growth push several of these toward "call a pro" sooner than they might in a drier climate. Persistent moisture hides the true extent of damage until it's already spread. For anything past a quick patch, our roof repair team can scope the work before you commit to a DIY attempt.
Step-by-Step: How to Replace Damaged Shingles
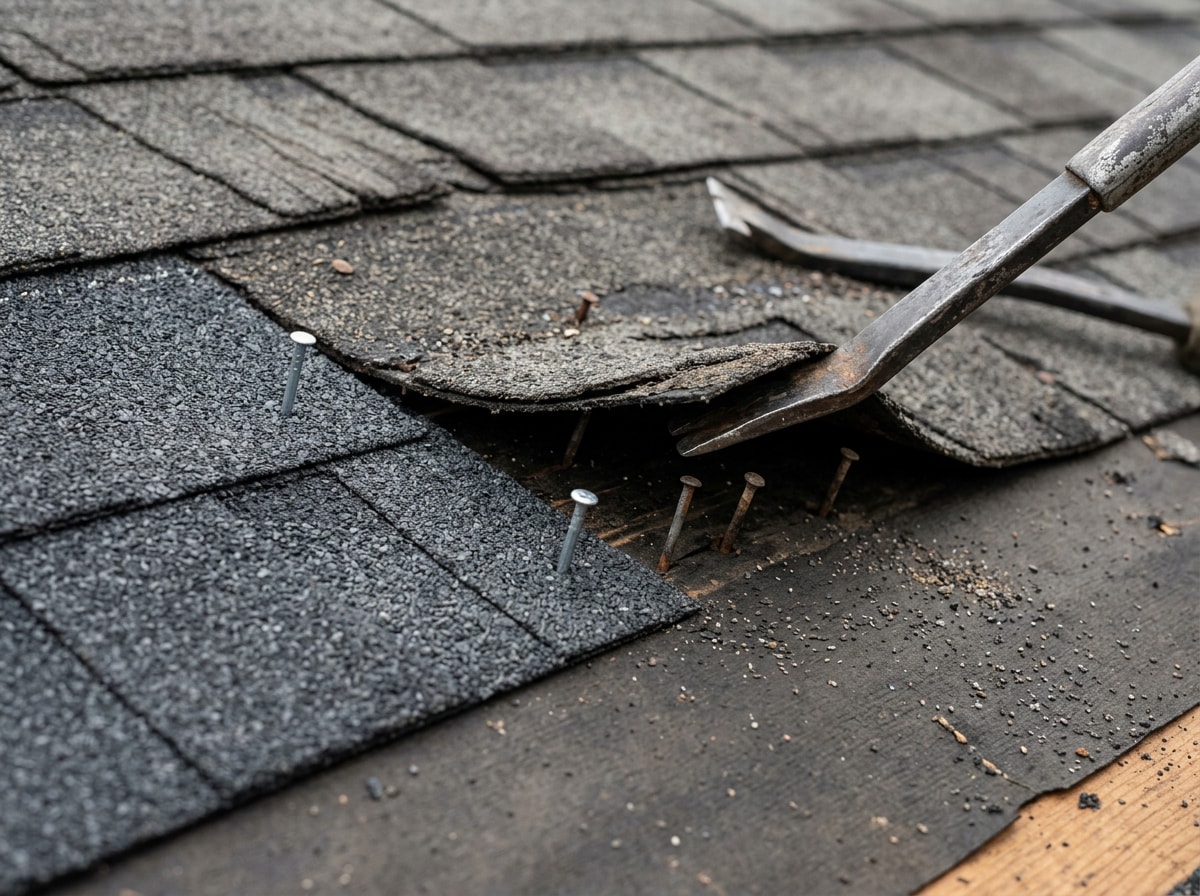
- Use a pry bar to carefully lift the edges of the shingles directly above the damaged one. Work gently so you don't crack the ones you're keeping.
- Slide the pry bar under the damaged shingle to pop out the roofing nails, usually four per shingle, and remove the nails from the overlapping course above it too.
- Slide the new shingle into place and nail it down with about four nails positioned just below the glue strip.
- Reseal any loosened tabs with a pea-sized dab of roofing cement to lock everything back down.
Step-by-Step: How to Fix a Roof Leak
Once your attic inspection has confirmed the leak source, the patch process is straightforward. The goal is sealing the entry point completely, not just covering the symptom.
Stop a Drip Fast (Temporary Patch)
Locate the suspect area, often directly above the stain path you traced in the attic. From the roof surface, apply flashing tape over a clean, dry section extending 2 to 3 inches past the defect on all sides, then top it with a light coat of roofing cement.
This buys time, but schedule a permanent fix soon after. Flashing tape isn't a long-term solution.
Step-by-Step: How to Repair Flashing
For tiny gaps at step flashing edges, clean and dry the seam thoroughly, then apply a thin bead of compatible sealant along the joint. Let it cure fully before the next rain.
Do not pry up counter-flashing or disturb step flashing woven into the shingle courses. That work requires removing shingles without damaging them, which is harder than it looks. If you see any movement in the metal itself, that's a sign to call a pro rather than push forward. The National Roofing Contractors Association publishes <a href="https://www.nrca.net/RoofingNews/nrca-releases-guidelines-for-architectural-metal-flashings.5-9-2018.6768/details/story">technical guidelines for architectural metal flashings</a> that cover metal flashings used in low- and steep-slope roof systems, plus design considerations like joinery and protective coatings , which explains why proper integration matters for long-term performance.
When to Call a Roofing Contractor
Some signs point clearly away from DIY:
- Leaks you can't trace, or ceiling stains that keep growing
- Multiple missing shingles across a wide area
- Flashing around chimneys, skylights, or valleys that needs rework
- A roof nearing the end of its life, with widespread granule loss or bald spots
- Steep, high, or multi-layer roofs
These all carry risk that outweighs potential savings. Sudden storm damage or an active leak you can't stop also calls for emergency roof repair rather than a weekend project.
If you do hire out the work, confirm the contractor's license through the <a href="https://search.ccb.state.or.us/search/">Oregon Construction Contractors Board</a> before signing anything. Contractors must put this number on their advertising, including brochures, websites, and business cards , so it should be easy to find and cross-check. Serving the area directly, our Gresham, OR page has local project examples, or you can get a free estimate if you'd rather have a pro scope the job before you decide.
FAQ
Can You Repair a Roof Yourself?
Yes, for small and accessible jobs like a handful of missing shingles or a minor flashing gap. Larger repairs carry safety risks and can affect manufacturer warranty coverage, so weigh the job's scope carefully before climbing up.
What Roof Repairs Can You Safely Do Yourself?
Safe DIY repairs generally include replacing a few shingles, resealing exposed nail heads, patching minor flashing seams, and cleaning short gutter sections. Anything involving structural decking, widespread damage, or steep slopes is better left to a professional.
Do I Need a Permit for DIY Roof Repairs in Gresham?
Usually not. Gresham exempts minor roof repair and replacement that stays under 30 percent of the roof's required live load design capacity and isn't fire-resistive. Full tear-offs and structural changes do need a permit, so confirm scope with the city if your project is larger than a patch.
How Much Does It Cost to Repair a Roof?
Minor DIY repairs typically cost under $100 in materials, while the same jobs run $400 to $800 when handled by a professional roofer. Larger repairs, like flashing replacement, can run $600 to $1,500 or more depending on scope.
How Can I Temporarily Stop a Roof Leak Until Help Arrives?
Place buckets under active drips to contain water indoors, then cover the affected exterior area with a waterproof tarp secured with boards or sandbags. Once the surface dries completely, apply roofing sealant to small cracks as a stopgap measure.